August 30, 2012

Gravel Bike Build – Part 6


Return to Part 1 

It’s time for wheels and there is nothing showing up on Ebay, Craigs List, or the bike forums.  Well there have been a few, but they all involved some kind of compromises or another, so I always talked myself out of them.
Compromise is the word of the day when it comes to wheels.  When I started this build I figured I would throw on a set of cheap 29’er wheels and tires and call it good.  When the bike was together enough to do a trial fit I tried to install the wheels and tires from my Trek Superfly.  Not even close.  They are WAY too big to fit in the frame.  So I put my road bike wheels and tires on.  They fit fine with plenty of clearance left for bigger tires.  700 x 38c or 700 x 32c?
So maybe the place to start picking a wheel begins with the tires.  After reading a ton of reviews and tech specs and making some measurements.  I decided a tire between 32c and 35c was the best for my needs.  I also want tubeless.  ROCK racing has had awesome success with Schwalbe tires.  So I checked them first, and really like the looks of this Smart Sam CX tire: 

Since I am using between a 32c to 38c wide tire, the inner rim width of the wheel should be somewhere around 19mm wide.  The Sheldon Brown website has a great chart for tire sizes and rim widths here.
   

Most of the 29er wheels I looked at were 23mm wide, too wide for my use.   This made me start looking at road wheels.  Which seem to have a good diameter and rim width, but are almost impossible to find with a disc brake hub and nothing in a tubeless.  I also looked at a few wheels meant for comfort bikes, but they seemed too heavy, and again none were available as tubeless.
It was looking more and more like custom wheels was the only way to get what I wanted.  Custom wheels would totally blow my budget.  But just maybe with some careful shopping of clearance bins and on-line deals I could put something together.

So over the past couple of weeks I’ve found some deal and ordered:
(2) Stan’s Iron Cross rims – 32 holes.  I’ve had great luck with Stan’s wheels before, and I wanted tubeless for this build.  So it was perfect when I found these on sale with free shipping.  The rim width is 20mm and the profile and diameter are made just for CX tires.

(2) Shimano Centerlock XT disc hubs – 32 holes.  I read reviews and compared prices on a bunch of different hubs, Shimano seemed like the best compromise between price and quality.  I like the idea of the splined center-lock hubs more than the ISO 6 bolt hubs.  Here is a good list of the pluses and minuses of the centerlock design:  Link

(70) DT Swiss 12mm alloy spoke nipples.  I picked red, should go good with my frame.  I only need 64 spokes and nipples, but I thought if I screw one up or break one later, it would be good to have a couple of extras.

(70) DT Swiss double-butted spokes 2.0 / 1.8mm.  The double butted spokes are supposed to ride smoother, stay strong, and be a little lighter.  I ordered black.  It took a while to figure out spoke lengths but I finally found an Excel based spoke length calculator, that I used to get the lengths figured out:


So with everything ordered,  I am back to waiting for parts to arrive again.  Check back for Part 7 soon to see how many mistakes I make building my first set o wheels.

Part 5                                                                                                     Part 7


August 21, 2012

Gravel Bike Build - Part 5

Return to Part 1

The Truvativ Elita 53 x 39 crankset is another part I have leftover from the old Giant road bike frame I sold a few years ago.  The Elita is a pretty decent crankset, anodized black aluminum and hollow forged, making it light and stiff.  Since I'm doing the 1x10 drivetrain, I don't need the 53 tooth outside ring.  I've read from several sources that single front rings have a problem with chains dropping off on bouncy or washboard roads. So I will install a lightweight aluminum chain guard to replace it.
To get the right guard you have to count the number of teeth in the chainring you will be using.  Mine is 39.  You also have to measure the Bolt Circle Diameter (BCD) of your crank.  Mine is 110 BCD.  There is a handy cheat sheet / measuring chart here. 

The guard I am using is made by BBG.  It is very well made, only 49 grams, machined from .0125 inch 5000 series aluminum and anodized black.  It comes with a lifetime guarantee for "bending or breaking no matter how you ride your bike". You'll see in the pics below that it ends up fitting perfectly.  Not bad for $14, and Made in America!


To remove the five chainring bolts from this style of crankset you need two hex keys, 5mm and 6mm.  These bolts are not your standard nut and bolt.  You have to insert one hex key from each side so they meet in the middle, then loosen them. 


Here's a good close up picture to show the bolts.  They are 2 pc, internal and external threads with internal hex recesses.  These bolts are another reason why the chainguard has to be added.  The grip length of the bolts only works for the thickness of two chainrings and crank.  Any change to that thickness would need new grip length bolts.  Adding the chainguard preserves that original thickness.


Rings removed

Reassemble with the new BBG part and a small dab of grease on each chainring bolt.


Torque each chainring bolt to 72 - 80 in lbs.

BBG chainguard installed.  Looks good.  The fit at all the crankset mating surfaces is perfect.  And more importantly the ring is flat and true.  There won't be any wobble while pedaling to interfere with the chain.

As a final check I laid out a short length of leftover 10 speed chain to check the clearance from 39 ring to BBG guard.  Looks like it is going to be perfect.

Some of the things I have been reading say that I will also need a chain keeper on the inside of my chainline.  I'm not sure yet if I will..  I'm thinking I will try it with just this outside ring first and see how it plays out.


Part 4                                                               Part 6


August 16, 2012

Gravel Bike Build - Part 4


I continued the build today by installing the bars and shifters.  I began by loosening the four hex bolts on the stem faceplate.   I was able to wiggle the bar through the stem with the bolts just loosened, didn’t have to fully remove them.  The bar I am using is just an old cheapie I had in the basement, taken off of Lori’s road bike when she upgraded to a wider more comfortable bar.  It is a Scott 42 cm ergo bend drop bar with a 31.8mm clamp mounting diameter.  My road bike has a 44cm wide bar, so this one will probably feel too narrow for me at first.  I will just have to wait and see how it goes.  While I was studying up on all the different bar choices I found a great guide for picking a new bar here:  http://www.bikerumor.com/2010/12/28/tech-how-to-choose-the-correct-road-bike-handlebar-size-shape/


With the bar in the clamp, I used the openings in the clamp face to line up the marks on the bar.  It is now centered exactly.  I also rotated it to a likely position, but that will probably be adjusted after some test rides.

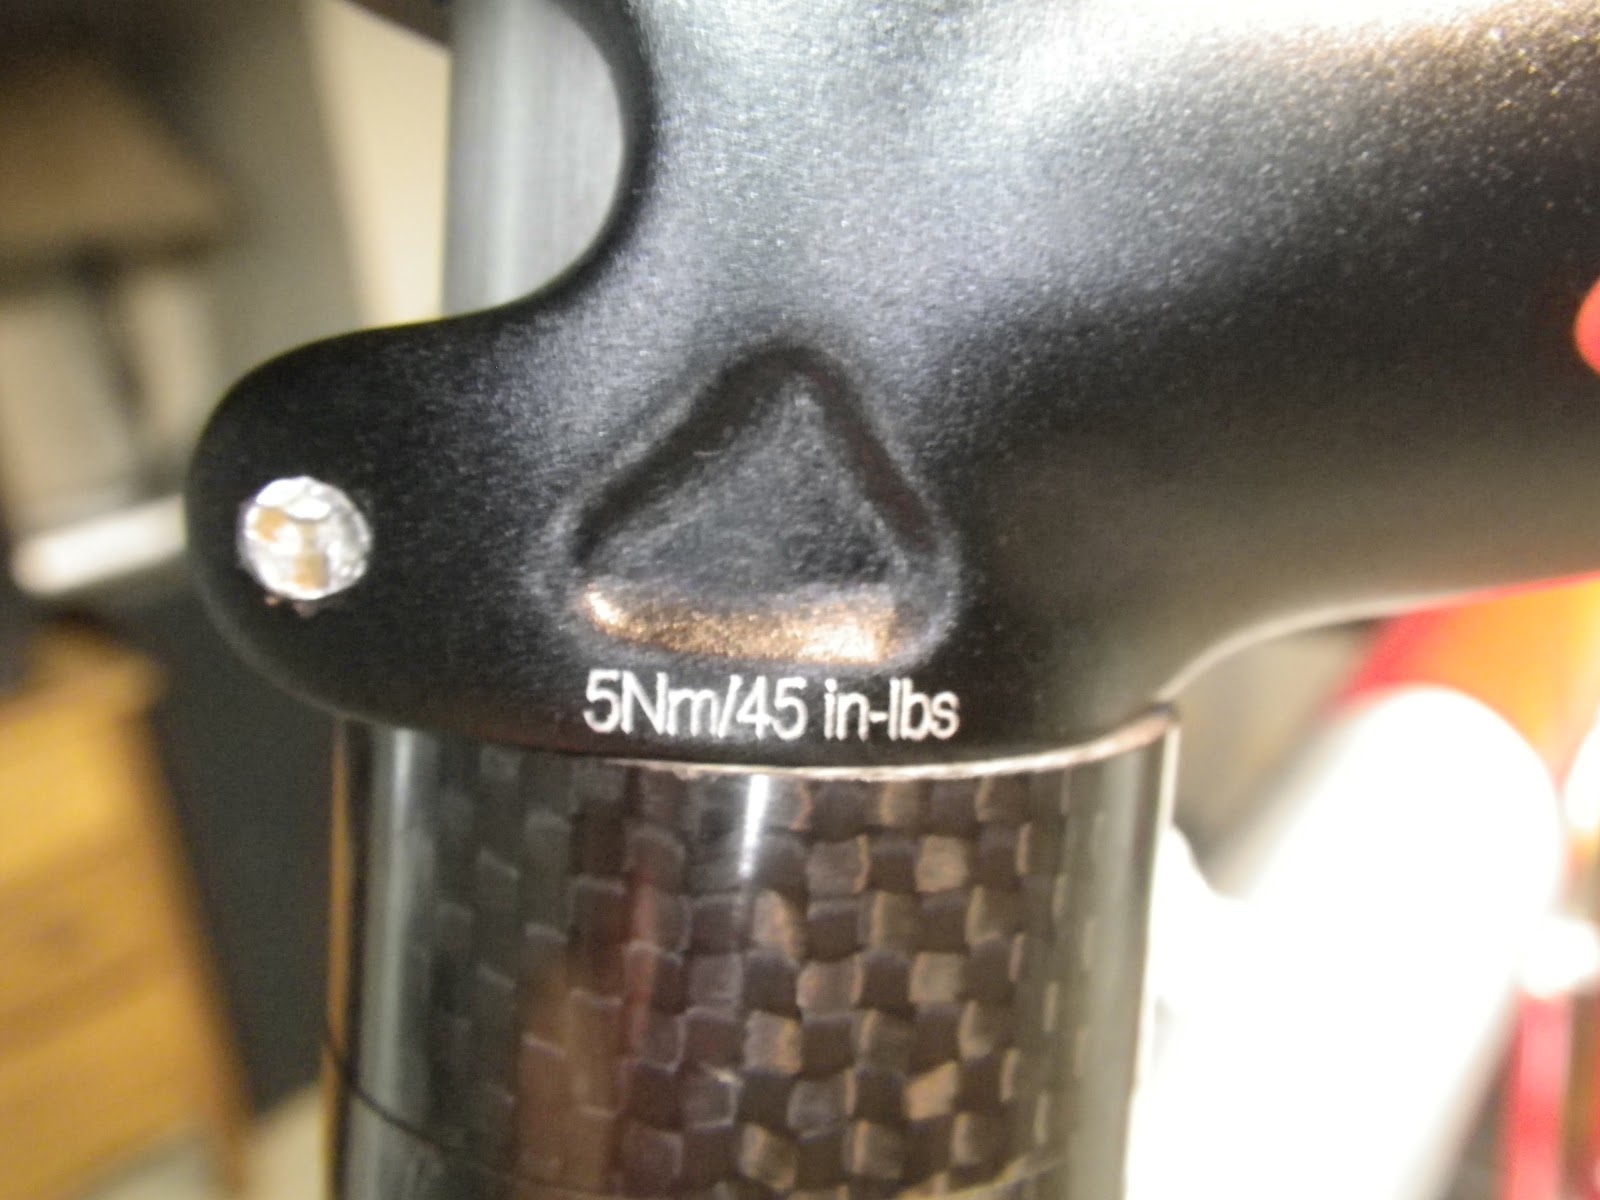
The stem faceplate hex bolts were torque to 45 inch lbs while holding the bar in position.  I tried to use a rotating pattern and a couple midpoint torque values before tightening them all the way down.


I took a few measurements to make sure the bars were centered.


Slide the shifters over the ends of the handlebar until they are approximately in the position you want them.  Partially peel back the boot on the shifter to reveal the 5mm clamp bolt.  Use a hex key to start tightening with one hand, while holding them in position with the other hand.  Once they are tight fold the boot back down.  These will get moved around again later when I get brake and shifter cables.  Then they get final installed when I wrap the bars with tape. 


Back in part one I talked about how dependent all the part decisions were on this bike build.  I had decided that I wanted a 1x10 drive train with an 11-34 rear cassette.  To get a cassette that size means using a mountain bike rear derailer.  I already have a crash damaged/repaired SRAM X.9 in the basement, so that will work out perfect.  But SRAM derailers don’t work with Shimano shifters, they have different cable-pull ratio’s, so I had to find SRAM.  I was figuring on buying some low end shifters to save money when I found an advertisement for a ‘barely used’ set of Rival shifters.  I met the guy in a grocery store parking lot, and the Rival shifters were mine.  Score!  These things are in perfect shape, not even a scuff, like they were never used.  Got the pair for less money than the best deal I could find on-line for a single shifter.  I’ve never used SRAM road shifters before so their double-tap shifting will take a little getting used to.

Done - looking down

Next up is crank and chain-ring install.

Part 3                                                                                                                            Part 5


August 15, 2012

Gravel Bike Build - Part 3


I was lucky enough that the Frame and Fork I bought came with plenty of exposed fork tube.   It looks like it hasn’t been cut at all.  Roadies and some XC racers like to cut these tubes short to slam the bar as low as they can get it to be more aero and save some weight.  I have a different goal for this bike - it is going to be my gravel endurance / adventure bike, so I will make some tradeoffs for all-day comfort.   This means I will use every mm of the exposed fork tube to keep my bars up at least to the saddle height.
I had checked the fork tube diameter before I bought the frame, it was 1.250 inch.  I didn’t want to mess around with any of the old 1 inch or threaded headset ‘standards’.
For Part 3 of the build the first thing I did was measure the exposed fork column to be 2.5 inches long, this meant I needed an additional 10mm spacer to put below the stem (the frame already came with three 5mm spacers).


Once I got the right spacers and stem, I was ready to assemble.  There was already a good Campy headset installed, so I just cleaned it up and re-greased with the tube of Pedro’s Synthetic grease that I like.


And then I slipped the pre-measured spacers over the fork tube.  Don’t make fun of the weight-weenie carbon fiber – they were on sale for less than the aluminum spacers when I found them.

I put the stem on after cleaning the bearing grease off of the fork tube.  The stem and fork mating surfaces have to clamp up tight, so it wouldn’t be good to leave lubricant in there.

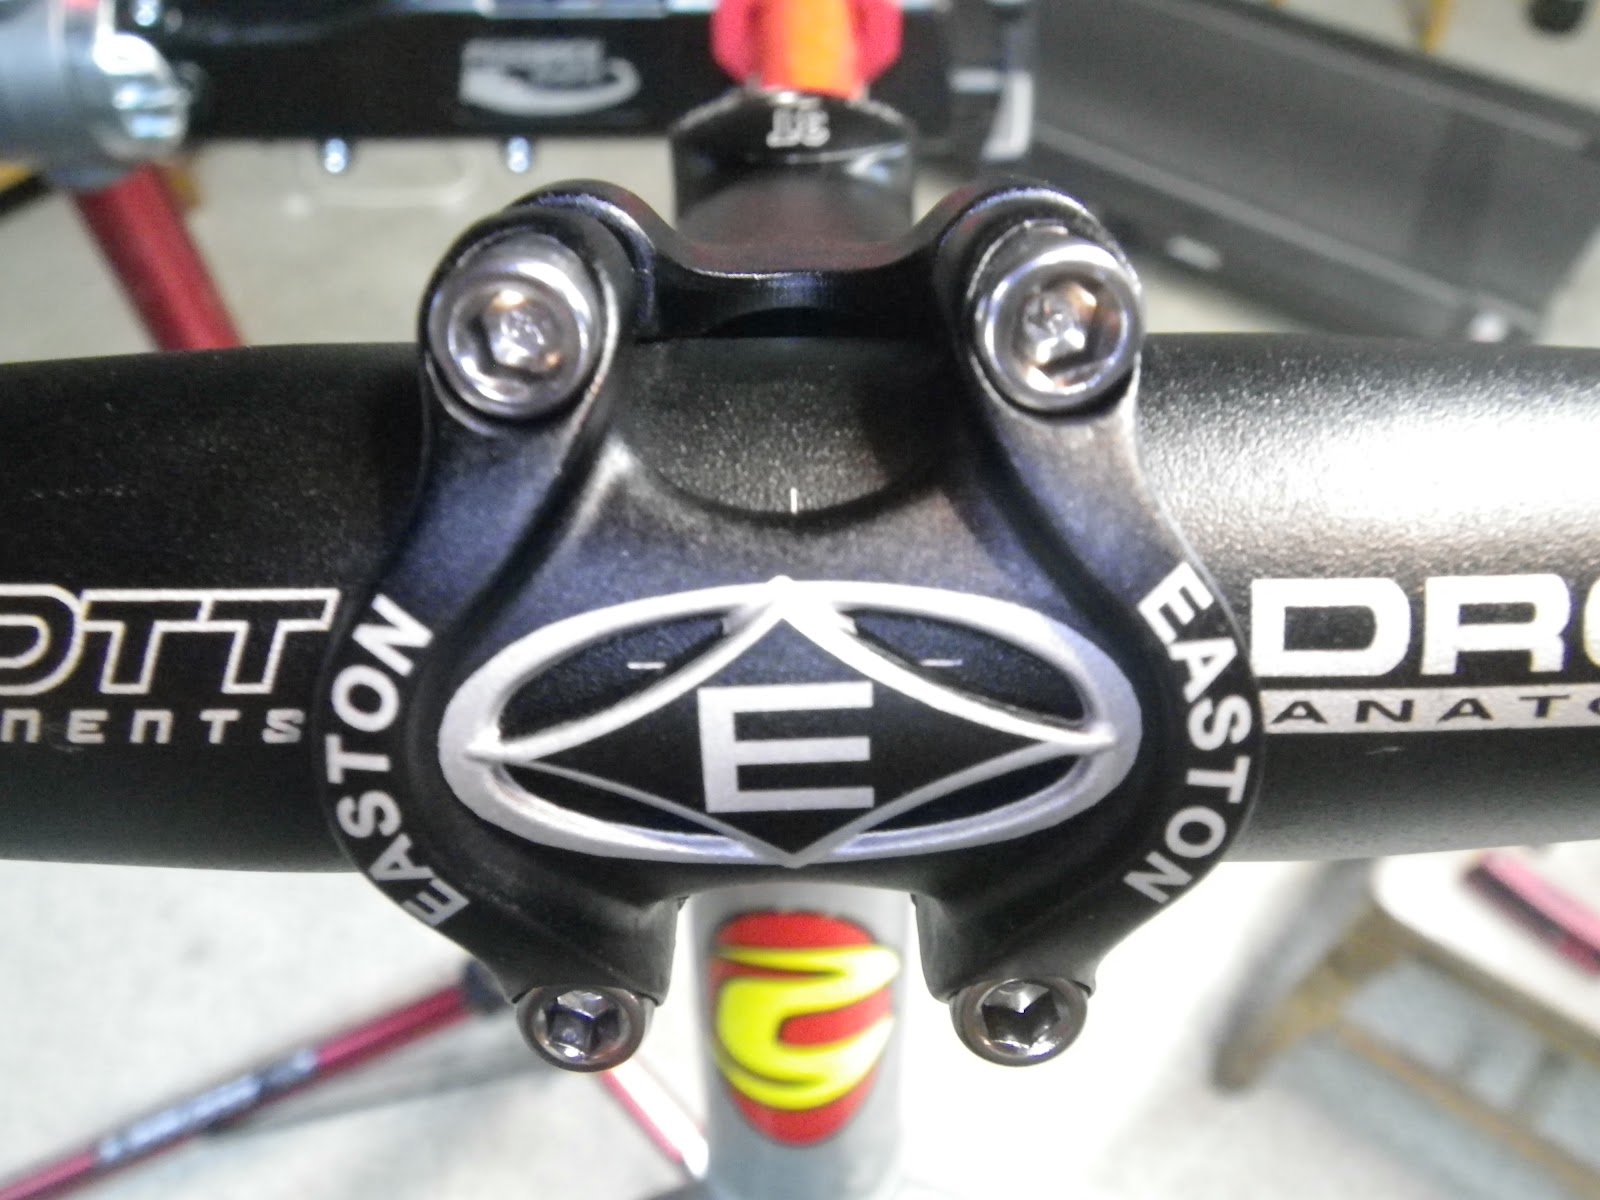
The space on top of the stem came out perfect with a 3mm (1/8 inch gap).  My earlier measuring paid off.  This gap is important to set the headset bearing pre-load.  The stem I am using is an Easton EA90.  It has a 4 bolt bar clamp and is one of the lightest and strongest you can get.  I always use 4 bolt stems.  Just seems to me that spreading the clamping force out over a wider clamp with twice as many bolts is much stronger and less likely to break than a 2 bolt.  Oh - There is an AWESOME clearance deal (70% off) going on now here.  $29 for a $100 stem!  I wanted one with a decent amount of rise for comfort.  So I got a 10 degree rise and 110mm length.  I don’t think it’s too long, but the only way to find out, is to ride it.  You can get twitchy steering with a stem that’s too short, so hopefully this one is a good compromise.

So tightening the top cap sets the headset bearing preload.  You gotta get this right.  I don’t know if there is some specific torque to shoot for, but the way I do it is:  Line up the stem straight over where the front wheel will go.  Start tightening down on the top hex bolt, bump it a few times as it sucks any gaps out between the bearings and races.  Keep tightening until you get to a point where there is no free-play.  This is all by feel, so do it more than once, bump it all around and wiggle the stem and fork again, tighten the top bolt again.  You have to go slow and sneak up on this.  Once you get to where there is no play, you are done.  Don’t continue tightening or you’ll load the bearings with excess friction and the steering will be too tight.


Always use a torque wrench, most parts have recommended torque values printed right on them.


Torque the two stem binder hex bolts.  These are 45 in lbs.  Up next .......... drop bars!

 Part 2                                                                                                               Part 4


August 12, 2012

Gravel Bike Build - Part 2

Or go back to Gravel Bike Build - Part 1     

So many of the decisions to make on the bike are dependant on each other.  For instance, the 1x10 drivetrain that I want.  I have a SRAM 10 speed chain that I won at the ICC 12hr earlier this yeah.  Chains ain't cheap, so I'd like to use this free one.  I also already have a Truvativ Elita 2x10 crankset with 39-53 chainrings that was a take-off from an old Giant road bike.  And I still have the SRAM bottom bracket from the old Giant.  It may not be a good call re-using a bearing set, but I'm going to go with it for now and call it my proof-of-concept phase.  This whole 1x10 idea may blow up in my face.  I haven't found anyone that made it work with this same frame.  Plus if it makes problems later it's not a big deal to change.

I want to go with the single front chain ring for simplicity.  Fewer parts to break and wear, less maintenance, and fewer things to think about when riding.  Also will benefit from a slight weight reduction from the 'missing' parts - chainring, cables, derailer, shifter.  That sounds a lot like a singlespeed rider talking, but I'm not a strong enough rider for that yet.  So I'll be putting a 11-34 mtn bike cassette in the rear for a good spread of shifting options.

The first part going on the bike is the bottom bracket.  You should measure this yourself before buying parts, but a good source to check the size is Bikepedia.  Here's the link to my frame.

This frame has a 68mm width and English threads. English threads are 1.37 inch dia x 24 tpi (threads per inch).

Bikepedia says this frame originally came with an integrated ISIS style bottom bracket, but I'm going to updated it with an external bearing set.  The new style external bearing sets have great seals and are easy to replace.  With the dirt and gravel dust I expect this bike to see, good seals are a must.  I am using a SRAM GXP.

If you want a single place to geek out on the bewildering assortment of bottom brackets available and some of the pluses and minuses of all the different types, here is a good link.  Like anything else cycling-related you can spend crazy money here on carbon fiber shells and ceramic bearing.

One new thing I learned is that SRAM BB's and Shimano BB's are not interchangeable.  Shimano BB's and cranksets have the same spindle diameter for both drive and non-drive side bearings.  SRAM uses a larger diameter drive side bearing.  You have to use SRAM BB's with SRAM/Truvativ cranksets.

Now that I have the right BB, it was time to install it:

Put a small dab of grease on the threads (don't blow this off - you may never get it out again when it needs replacing):


To install the BB you will need a specific tool.  The only one to get is the socket type.  You have to torque bottom brackets - the handheld wrench type tool will not let you get a proper torque measurement.  And for God's sake don't try this with pliers or a pipe wrench.  The grooves in the BB are soft aluminum and will shred without the right tool.  Here is the one I use: Park Tool.


This BB gets torqued 25-30 ft lbs, it is printed right on the cup so you can't make a mistake.  Don't cheat on this and take your best guess.  The BB threads are steel, the frame is aluminum.  You can over-torque and ruin the frame threads, or under-torque and listen to a creaky noisy BB with every pedal stroke.  I have the 'click-type' wrench for ft lb ranges. So set up the torque wrench to 28 ft lbs and go:


Repeat for the drive-side.  Watch out for the drive-side though, it has left hand threads so you will be threading and torquing in the opposite direction. (the old lefty-loosey, righty-tighty don't work here)


And that's it.  The BB is installed and ready to go.


Now I gotta wait for the UPS guy to bring more toys for Part 3.

Gravel Bike Build - Part 1                                                  Gravel Bike Build  - Part 3


August 11, 2012

Gravel Bike Build - Part 1

            - There are several good gravel road races coming up that I want to be at.
            - And there are so many gravel road options for riding just north of my house.
            - And the KATY and Hamburg trails are pretty close too.
            - And nobody can have just two bikes.

This is all the justification required to want a Gravel / Adventure bike.  I decided that I wasn't going to buy any more new bikes a couple of years ago.  They are way too much fun to build.  I built a Specialized Roubaix for the road, and Jacob's Niner MTB.  They both came out perfect.  I started trolling craigs list, bike forums, and Ebay a few weeks ago watching for the deal that I knew would come.  I was going to be flexible for either a rigid 29er or a CX frame as long as I could get the right size and a good deal, but it would have to be disc brake compatible.  I didn't want to mess with caliper brakes or V brakes.
So last week I finally found one and scored a great deal on Ebay.  It is a Made in USA 2003 Cannondale R1000 Cyclocross frame.

Specs:
56cm CAAD7 6061 T6 aluminum with disc brake tabs
Wide aluminum fork with disc brake tabs
68 mm English bottom bracket
1 1/8 inch headset  (frame came with a Campy Record headset)
27.2mm seatpost
130mm front axle spacing
135mm rear axle spacing

The frame has a scrape on the drive side chain stay where some previous chain suck dug in.  Not deep, not structural, and will never be a problem.  I think this bit of damage may have scared a lot of the other bidders away.  Their loss, my gain!


My plans for this bike are:
1x10 drivetrain using the best parts I can scrounge.
Road shifters
Drop bars
Comfy saddle
Clipless pedals
700c wheels with discs
Biggest Schwalbe tires I can squeeze into the frame rails


And here are the brake mounts on the fork and frame:


Now that I've got it clamped up in my work stand I can start building.  C

Gravel Bike Build - Part 2