
I was lucky enough that the Frame and Fork I bought came with plenty of exposed fork tube. It looks like it hasn’t been cut at all. Roadies and some XC racers like to cut these tubes short to slam the bar as low as they can get it to be more aero and save some weight. I have a different goal for this bike - it is going to be my gravel endurance / adventure bike, so I will make some tradeoffs for all-day comfort. This means I will use every mm of the exposed fork tube to keep my bars up at least to the saddle height.
I had checked the fork tube diameter before I bought the frame, it was 1.250 inch. I didn’t want to mess around with any of the old 1 inch or threaded headset ‘standards’.
For Part 3 of the build the first thing I did was measure the exposed fork column to be 2.5 inches long, this meant I needed an additional 10mm spacer to put below the stem (the frame already came with three 5mm spacers).

Once I got the right spacers and stem, I was ready to assemble. There was already a good Campy headset installed, so I just cleaned it up and re-greased with the tube of Pedro’s Synthetic grease that I like.

And
then I slipped the pre-measured spacers over the fork tube. Don’t make
fun of the weight-weenie carbon fiber – they were on sale for less than
the aluminum spacers when I found them.

I
put the stem on after cleaning the bearing grease off of the fork
tube. The stem and fork mating surfaces have to clamp up tight, so it
wouldn’t be good to leave lubricant in there.

The space on top of the stem came out perfect with a 3mm (1/8 inch gap). My earlier measuring paid off. This gap is important to set the headset
bearing pre-load. The stem I am using is
an Easton EA90. It has a 4 bolt bar
clamp and is one of the lightest and strongest you can get. I always use 4 bolt stems. Just seems to me that spreading the clamping
force out over a wider clamp with twice as many bolts is much stronger and less
likely to break than a 2 bolt. Oh - There
is an AWESOME clearance deal (70% off) going on now here. $29 for a $100 stem! I wanted one with a decent amount of rise for
comfort. So I got a 10 degree rise and
110mm length. I don’t think it’s too
long, but the only way to find out, is to ride it. You can get twitchy steering with a stem
that’s too short, so hopefully this one is a good compromise.

So
tightening the top cap sets the headset bearing preload. You gotta get this right. I don’t know if there is some specific torque
to shoot for, but the way I do it is:
Line up the stem straight over where the front wheel will go. Start tightening down on the top hex bolt,
bump it a few times as it sucks any gaps out between the bearings and races. Keep tightening until you get to a point
where there is no free-play. This is all
by feel, so do it more than once, bump it all around and wiggle the stem and
fork again, tighten the top bolt again. You
have to go slow and sneak up on this. Once
you get to where there is no play, you are done. Don’t continue tightening or you’ll load the
bearings with excess friction and the steering will be too tight.
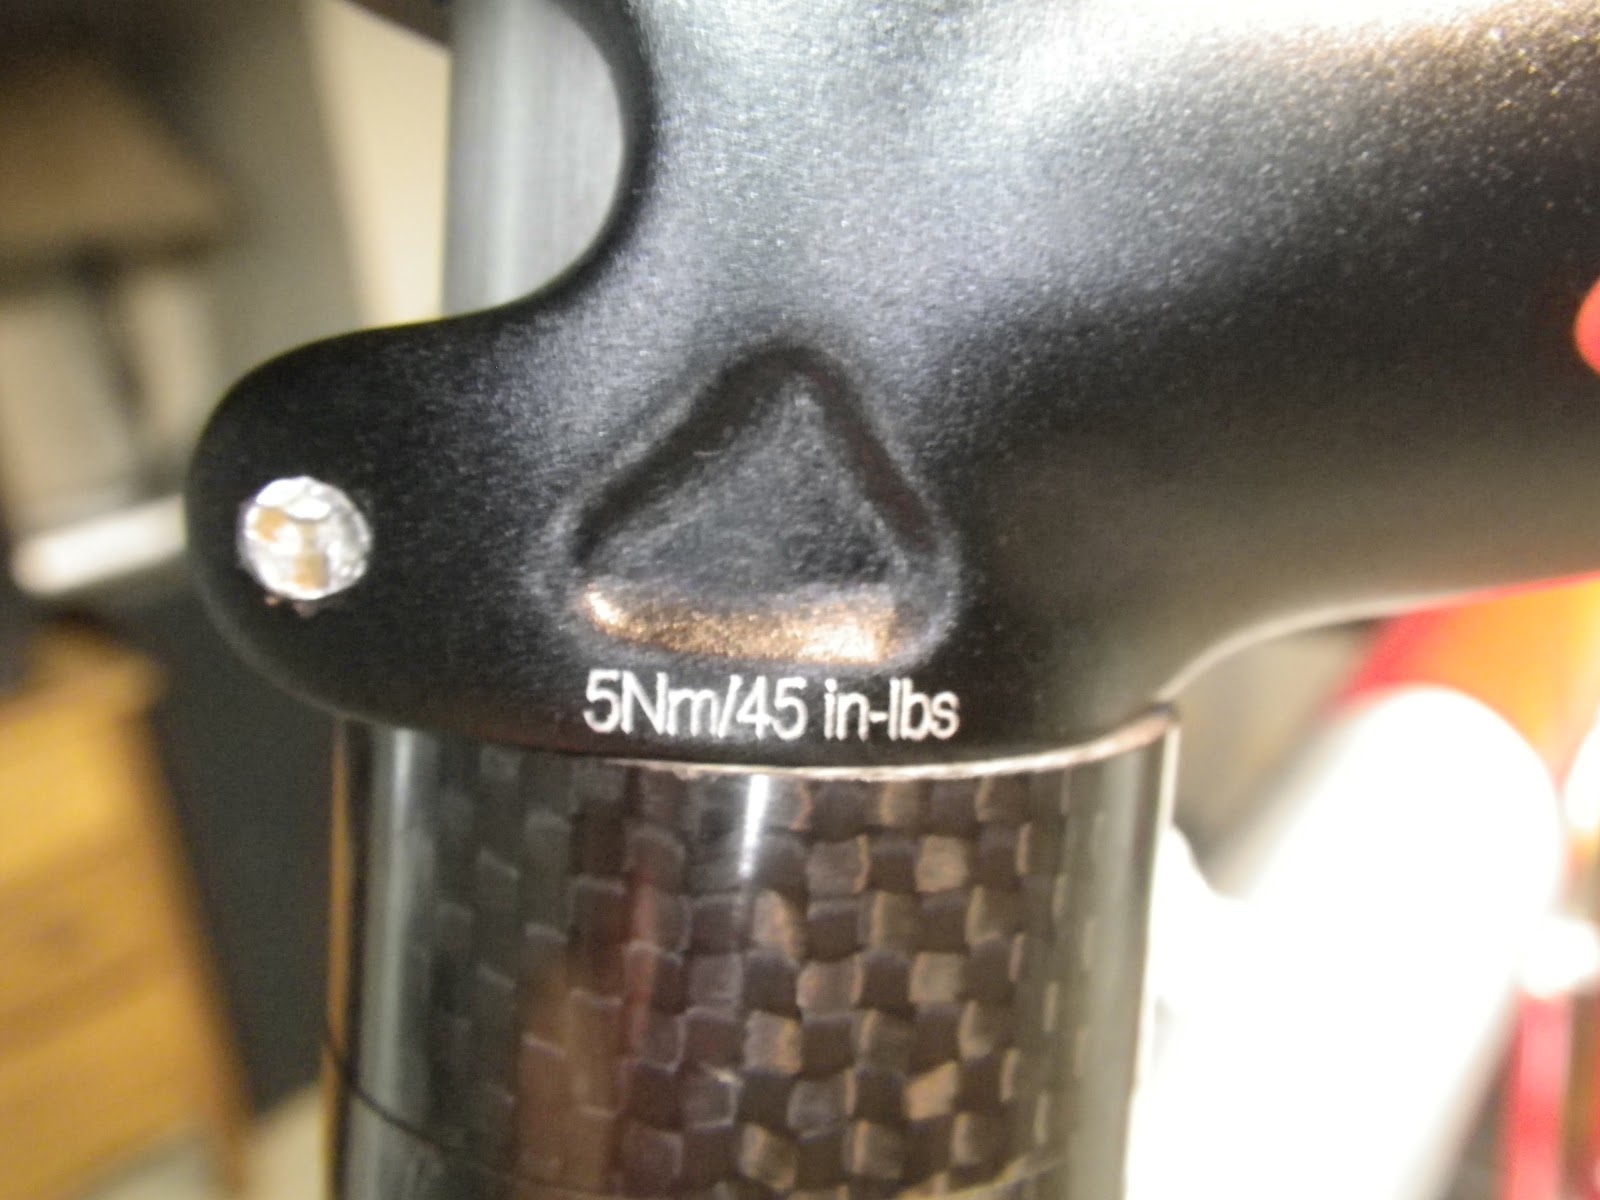
Always use a torque wrench, most parts have recommended torque values printed right on them.

Torque the two stem binder hex bolts. These are 45 in lbs. Up next .......... drop bars!
No comments:
Post a Comment