Showing posts with label gravel bike. Show all posts

February 19, 2013

Gravel Bike - Evolution


Don't build this bike.

If you could stand to follow this build all the way from post1 through post 10, you know I had been using an Ebay Cannondale CAAD7 frame for the base of the build.  I was pretty excited about an American made CX bike with disc brakes.  But, as I added more and more mileage to the frame, the original small idiosyncrasies I found starting growing into big downers. Since I plan to ride some high mileage races this year (Cedar Cross, DK200) I really needed to have it dialed in as close to perfect as I could get it.  The things I couldn’t get around were:

Front wheel toe overlap.  Why would a bike mfg design a geometry that allows your toes to hit the wheel when turning?  It’s beyond me.  At best, this is absolutely annoying and at worst it’s downright dangerous.  It’s probably partly my fault for setting the cleats on my shoes so far back, but they have to be there to avoid those damn hotspots.

Limited tire size.  I literally had to cram 35c tires in the frame.  They were so close to rubbing but I went with it because it ‘is what is’.  I should have had 30 or 32c on this frame.  Any amount of mud or sand collecting on the rear seatstays would likely lock the wheel up.  I really wanted to ride 40c tires for the added comfort and controlabilty in wet and/or loose gravel.

Geometry.  I think the Cannondale geometry was designed for short cx races.  It felt fast, but always twitchy.  I was constantly focused on the steering, working through the heavier graveled sections of road  slower than I wanted.  It gave me that unsteady feeling of sitting up too high ‘on-top’ of the bike.  I like the feeling of being ‘in’ the bike.  Wish I knew how to explain that better.  I first discovered that feeling on my Superfly and now I want all my bikes to feel that way.

Road Buzz.  This is probably the aluminum fork and frame.  I’ve read plenty of frame reviews and this is the reason people give for not liking aluminum.  Take that buzz on the road to gravel and it gets more magnified.  This is kind of a minor thing compared to the other reasons, but it was still there. I bet a carbon fork would've fixed it.

I could live with the buzz, I didn’t like the geometry.  But I really hated the toe overlap and limited tire size.  I tried to think my way through solutions to these problems and I kept coming back to the same one:  New frame.

So I obsessively read my way through a half million reviews, thousands of blog stalks, hundreds of conversations and as I narrowed my search down, a month went by.  Then I did it all over again, narrowed my search even further and another month went by.  I finally decided on a Salsa Vaya.  Salsa calls it their "road adventure bike, designed to handle any ‘road’ surface, from pavement to gravel."
The Vaya has a long wheelbase = no toe overlap.  Takes up to 42c tires (and it looks like it could even go bigger than that).  Middle of the road geometry (touring meet racing).  And a steel frame means goodbye road buzz.

Now that my frame search was more specific.  I bombarded Craigslist and Ebay and all the forums I could find.  Constantly looking for used 56cm Vaya frames.  There was nothing out there, not a single hit in a month of searching.  God bless my angelic wife for finally putting an end to my suffering!  And No, she didn’t smother me with a pillow.  She ordered a brand new Vaya frame for my birthday eve/first birthday/second birthday/post birthday/Christmas combo!!


 The 10 part blog build of the Cannondale turned into a one hour part-swap-fest.  Everything swapped over easily to the Vaya and only left me with a mild cable length problem that I’ll get to someday.

While I was doing all the part swapping I also put on the bigger 700 x 40c Schwalbe Marathon Mondial tires I was wanting.  They fit great with plenty of room to spare.  I also replaced those crappy road bike handlebars with some Salsa Cowbell II bars and wrapped them up in lizardskins tape.

These bars are short reach, shallow drop, and have the lower legs flared out at a 12 degree angle.  I'm gonna tell you they are the best drop bars I've ever ridden.  If I ever get on my road bike again, I will have to replace the fancy-schmancy carbon bars for one of these.

I've got a lot of riding to do this spring, I'll get another post out to let you know how the Evolution to Perfection is progressing.

January 8, 2013

MId-Week Adventure

Had the new gravel bike out for a shake-down ride on a mid-week adventure.  Can't believe it almost hit 50 degrees in January.  The Blueberry Pecan KIND bar tucked in the side of my seat bag didn't survive the ride.  These bars are my new favorites!

August 15, 2012

Gravel Bike Build - Part 3


I was lucky enough that the Frame and Fork I bought came with plenty of exposed fork tube.   It looks like it hasn’t been cut at all.  Roadies and some XC racers like to cut these tubes short to slam the bar as low as they can get it to be more aero and save some weight.  I have a different goal for this bike - it is going to be my gravel endurance / adventure bike, so I will make some tradeoffs for all-day comfort.   This means I will use every mm of the exposed fork tube to keep my bars up at least to the saddle height.
I had checked the fork tube diameter before I bought the frame, it was 1.250 inch.  I didn’t want to mess around with any of the old 1 inch or threaded headset ‘standards’.
For Part 3 of the build the first thing I did was measure the exposed fork column to be 2.5 inches long, this meant I needed an additional 10mm spacer to put below the stem (the frame already came with three 5mm spacers).


Once I got the right spacers and stem, I was ready to assemble.  There was already a good Campy headset installed, so I just cleaned it up and re-greased with the tube of Pedro’s Synthetic grease that I like.


And then I slipped the pre-measured spacers over the fork tube.  Don’t make fun of the weight-weenie carbon fiber – they were on sale for less than the aluminum spacers when I found them.

I put the stem on after cleaning the bearing grease off of the fork tube.  The stem and fork mating surfaces have to clamp up tight, so it wouldn’t be good to leave lubricant in there.

The space on top of the stem came out perfect with a 3mm (1/8 inch gap).  My earlier measuring paid off.  This gap is important to set the headset bearing pre-load.  The stem I am using is an Easton EA90.  It has a 4 bolt bar clamp and is one of the lightest and strongest you can get.  I always use 4 bolt stems.  Just seems to me that spreading the clamping force out over a wider clamp with twice as many bolts is much stronger and less likely to break than a 2 bolt.  Oh - There is an AWESOME clearance deal (70% off) going on now here.  $29 for a $100 stem!  I wanted one with a decent amount of rise for comfort.  So I got a 10 degree rise and 110mm length.  I don’t think it’s too long, but the only way to find out, is to ride it.  You can get twitchy steering with a stem that’s too short, so hopefully this one is a good compromise.

So tightening the top cap sets the headset bearing preload.  You gotta get this right.  I don’t know if there is some specific torque to shoot for, but the way I do it is:  Line up the stem straight over where the front wheel will go.  Start tightening down on the top hex bolt, bump it a few times as it sucks any gaps out between the bearings and races.  Keep tightening until you get to a point where there is no free-play.  This is all by feel, so do it more than once, bump it all around and wiggle the stem and fork again, tighten the top bolt again.  You have to go slow and sneak up on this.  Once you get to where there is no play, you are done.  Don’t continue tightening or you’ll load the bearings with excess friction and the steering will be too tight.


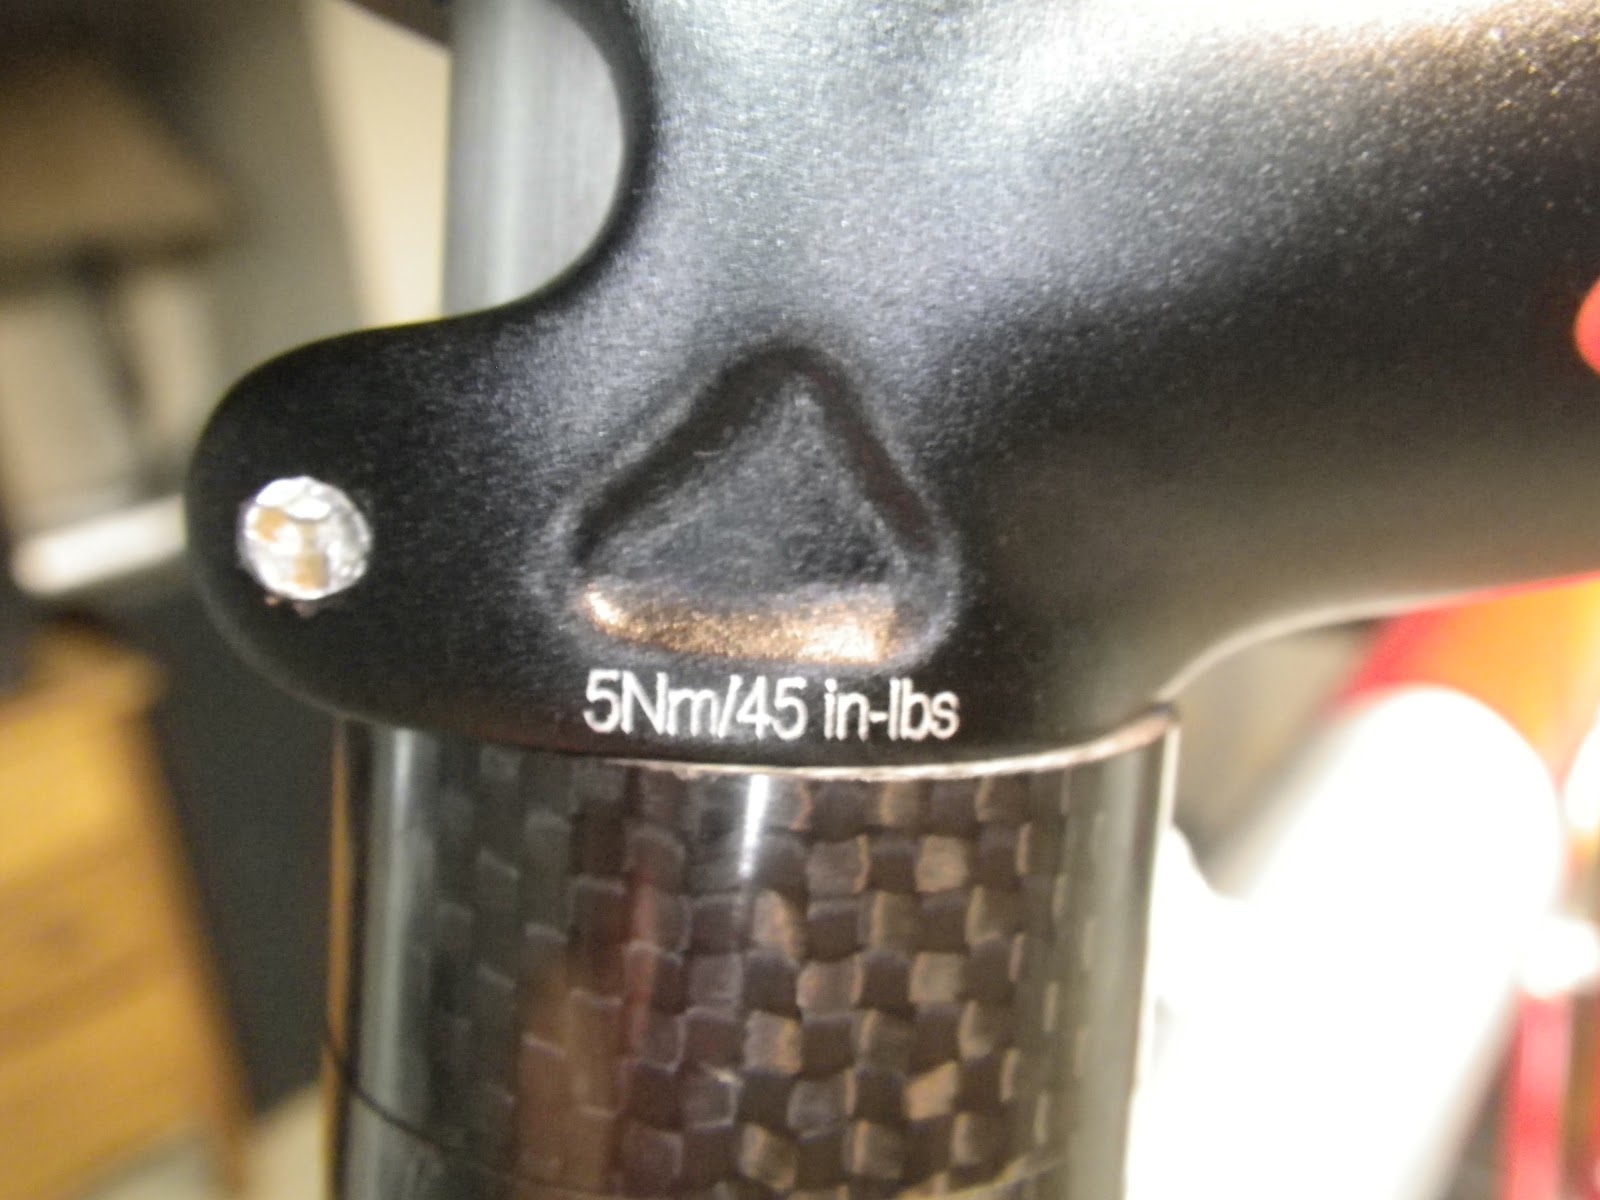
Always use a torque wrench, most parts have recommended torque values printed right on them.


Torque the two stem binder hex bolts.  These are 45 in lbs.  Up next .......... drop bars!

 Part 2                                                                                                               Part 4


August 12, 2012

Gravel Bike Build - Part 2

Or go back to Gravel Bike Build - Part 1     

So many of the decisions to make on the bike are dependant on each other.  For instance, the 1x10 drivetrain that I want.  I have a SRAM 10 speed chain that I won at the ICC 12hr earlier this yeah.  Chains ain't cheap, so I'd like to use this free one.  I also already have a Truvativ Elita 2x10 crankset with 39-53 chainrings that was a take-off from an old Giant road bike.  And I still have the SRAM bottom bracket from the old Giant.  It may not be a good call re-using a bearing set, but I'm going to go with it for now and call it my proof-of-concept phase.  This whole 1x10 idea may blow up in my face.  I haven't found anyone that made it work with this same frame.  Plus if it makes problems later it's not a big deal to change.

I want to go with the single front chain ring for simplicity.  Fewer parts to break and wear, less maintenance, and fewer things to think about when riding.  Also will benefit from a slight weight reduction from the 'missing' parts - chainring, cables, derailer, shifter.  That sounds a lot like a singlespeed rider talking, but I'm not a strong enough rider for that yet.  So I'll be putting a 11-34 mtn bike cassette in the rear for a good spread of shifting options.

The first part going on the bike is the bottom bracket.  You should measure this yourself before buying parts, but a good source to check the size is Bikepedia.  Here's the link to my frame.

This frame has a 68mm width and English threads. English threads are 1.37 inch dia x 24 tpi (threads per inch).

Bikepedia says this frame originally came with an integrated ISIS style bottom bracket, but I'm going to updated it with an external bearing set.  The new style external bearing sets have great seals and are easy to replace.  With the dirt and gravel dust I expect this bike to see, good seals are a must.  I am using a SRAM GXP.

If you want a single place to geek out on the bewildering assortment of bottom brackets available and some of the pluses and minuses of all the different types, here is a good link.  Like anything else cycling-related you can spend crazy money here on carbon fiber shells and ceramic bearing.

One new thing I learned is that SRAM BB's and Shimano BB's are not interchangeable.  Shimano BB's and cranksets have the same spindle diameter for both drive and non-drive side bearings.  SRAM uses a larger diameter drive side bearing.  You have to use SRAM BB's with SRAM/Truvativ cranksets.

Now that I have the right BB, it was time to install it:

Put a small dab of grease on the threads (don't blow this off - you may never get it out again when it needs replacing):


To install the BB you will need a specific tool.  The only one to get is the socket type.  You have to torque bottom brackets - the handheld wrench type tool will not let you get a proper torque measurement.  And for God's sake don't try this with pliers or a pipe wrench.  The grooves in the BB are soft aluminum and will shred without the right tool.  Here is the one I use: Park Tool.


This BB gets torqued 25-30 ft lbs, it is printed right on the cup so you can't make a mistake.  Don't cheat on this and take your best guess.  The BB threads are steel, the frame is aluminum.  You can over-torque and ruin the frame threads, or under-torque and listen to a creaky noisy BB with every pedal stroke.  I have the 'click-type' wrench for ft lb ranges. So set up the torque wrench to 28 ft lbs and go:


Repeat for the drive-side.  Watch out for the drive-side though, it has left hand threads so you will be threading and torquing in the opposite direction. (the old lefty-loosey, righty-tighty don't work here)


And that's it.  The BB is installed and ready to go.


Now I gotta wait for the UPS guy to bring more toys for Part 3.

Gravel Bike Build - Part 1                                                  Gravel Bike Build  - Part 3