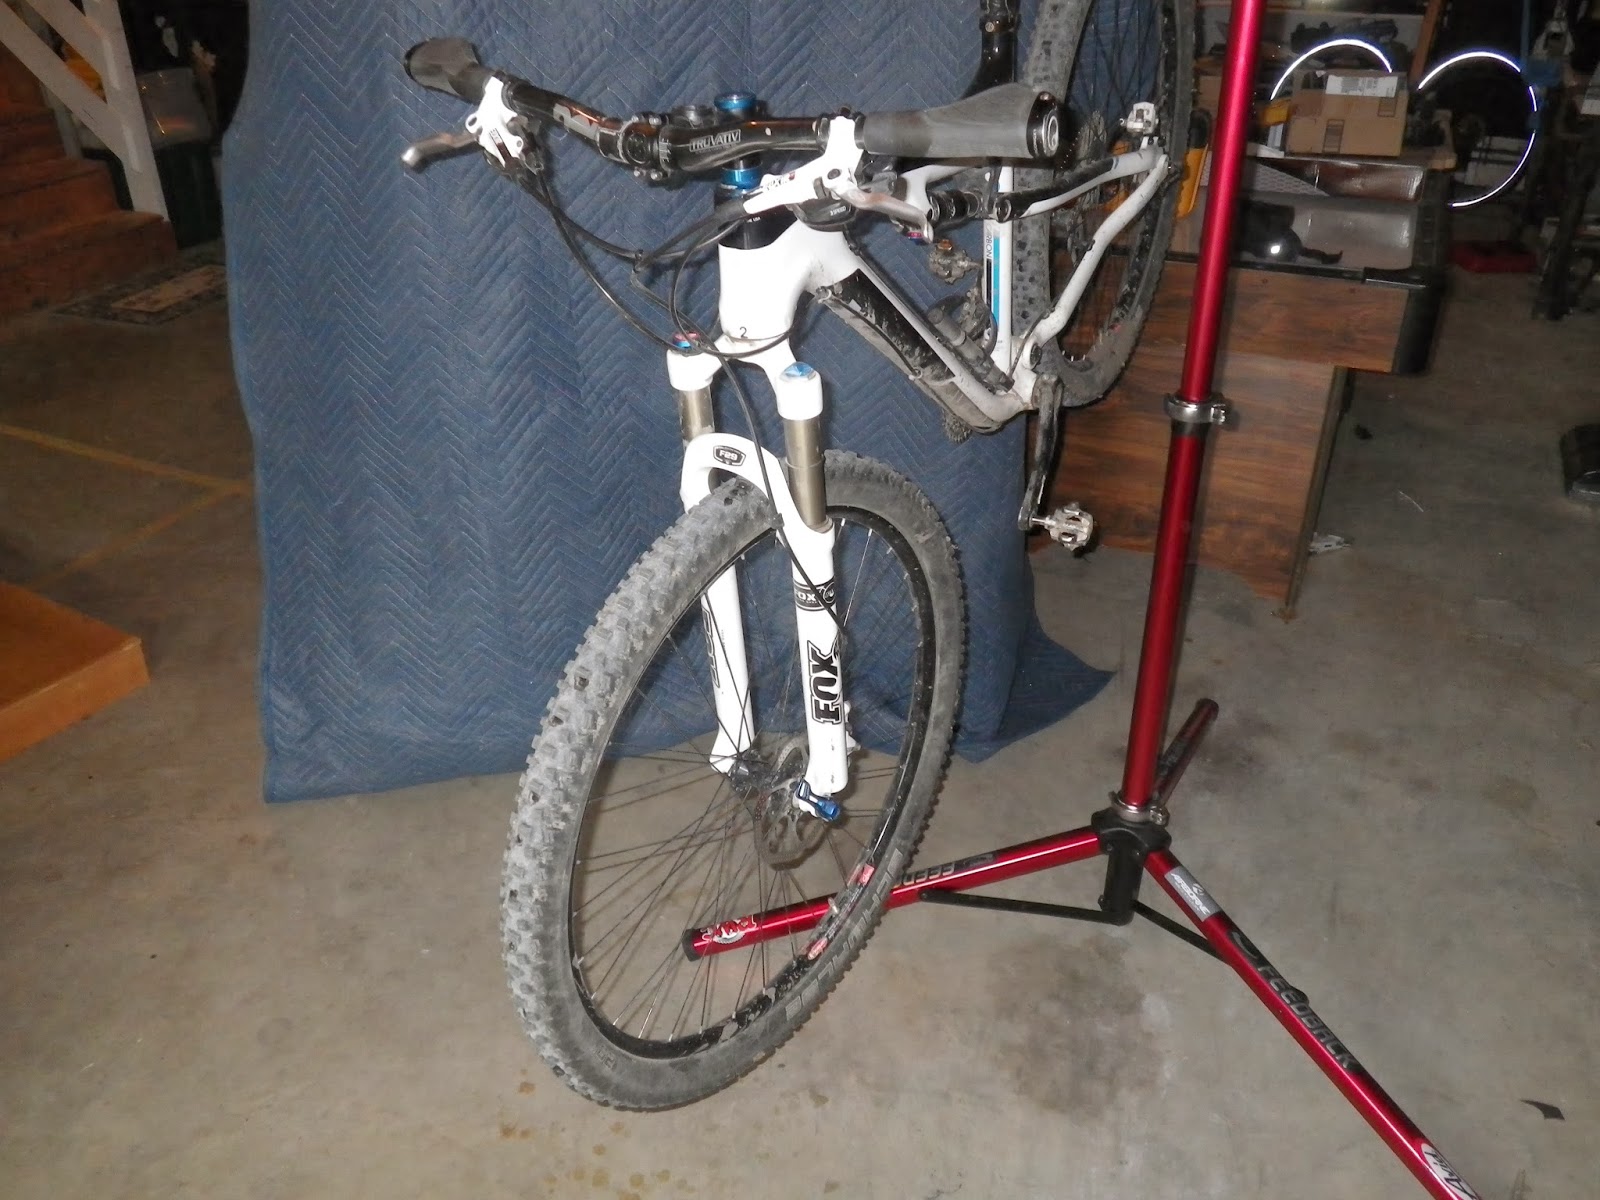
Its a cold day outside and I'm still recovering from my latest injury so I decided it was a good time to do the much-needed seal change and oil servicing on my Fox F29 100 Open Bath RL fork. This is the factory installed fork on the 2011 Trek Superfly 100. The Superfly forks all have 1.125 to 1.50 tapered headsets with G2 offsets.
I'm not going to cover removing the fork from the bike. It is possible to do this job without removing it, but it seems simpler to be able to flip it around by hand rather than mess with moving the whole bike around. So remove the wheel and the fork from bike, and find something to work on that you don't care if it gets oil on it.
Remove the blue anodized cover from over the Schrader valve and let out all air pressure, hold a rag over the valve while you do this, a small amount of oil will spray out with the air.
This is the reason I'm replacing seals and changing oil. The seal went bad this fall and has been leaking and collecting dirt.
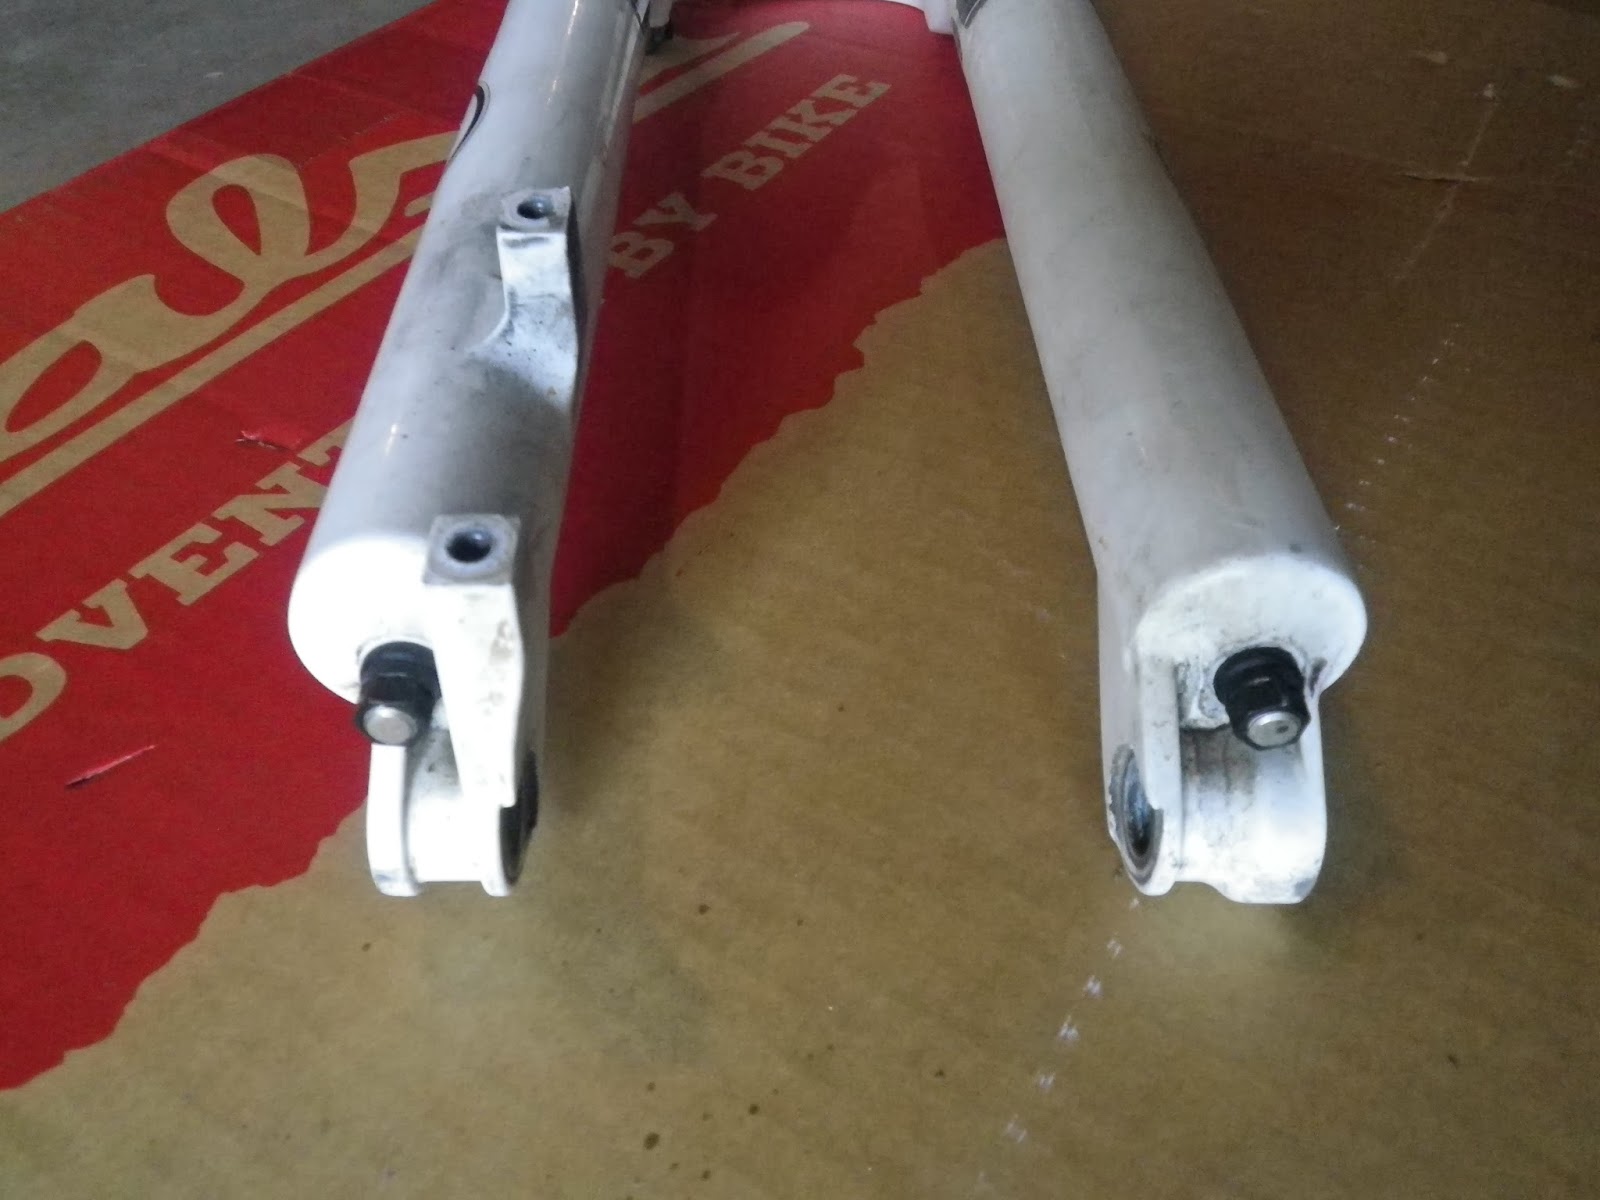
Loosen both bottom nuts with a 10mm socket.
But don't completely remove them. Lightly tap the end of each with a plastic hammer.
Use thumb pressure to depress both threaded ends into the lower shock housing.
Dump excess waste oil into your wife's favorite office trash can. If she doesn't have one, use her baking dish instead.
Pull the upper section out of the lower section.
Lever both seals out of the lower with a big open end wrench. I didn't have anough hands to get a picture of this but it is pretty easy to visualize.
Pull out the foam ring from under the seal. It lifts out easily with just fingers.
Clean the ends up so there is no dirt or grit remaining. I noticed the bushings in my lower are showing some wear.
I used Fox factory replacement seals. The kit came with everything I needed.
And I used the recommended Fox 10wt green suspension oil.
Soak the foam rings in clean oil before installing by hand into the lower.
Use thumb pressure to install the new seals in the lower. I also lubed them up with the same oil before installing to help them slide into place damage free.
Double check the seal to make sure it is fully seated in the lower.
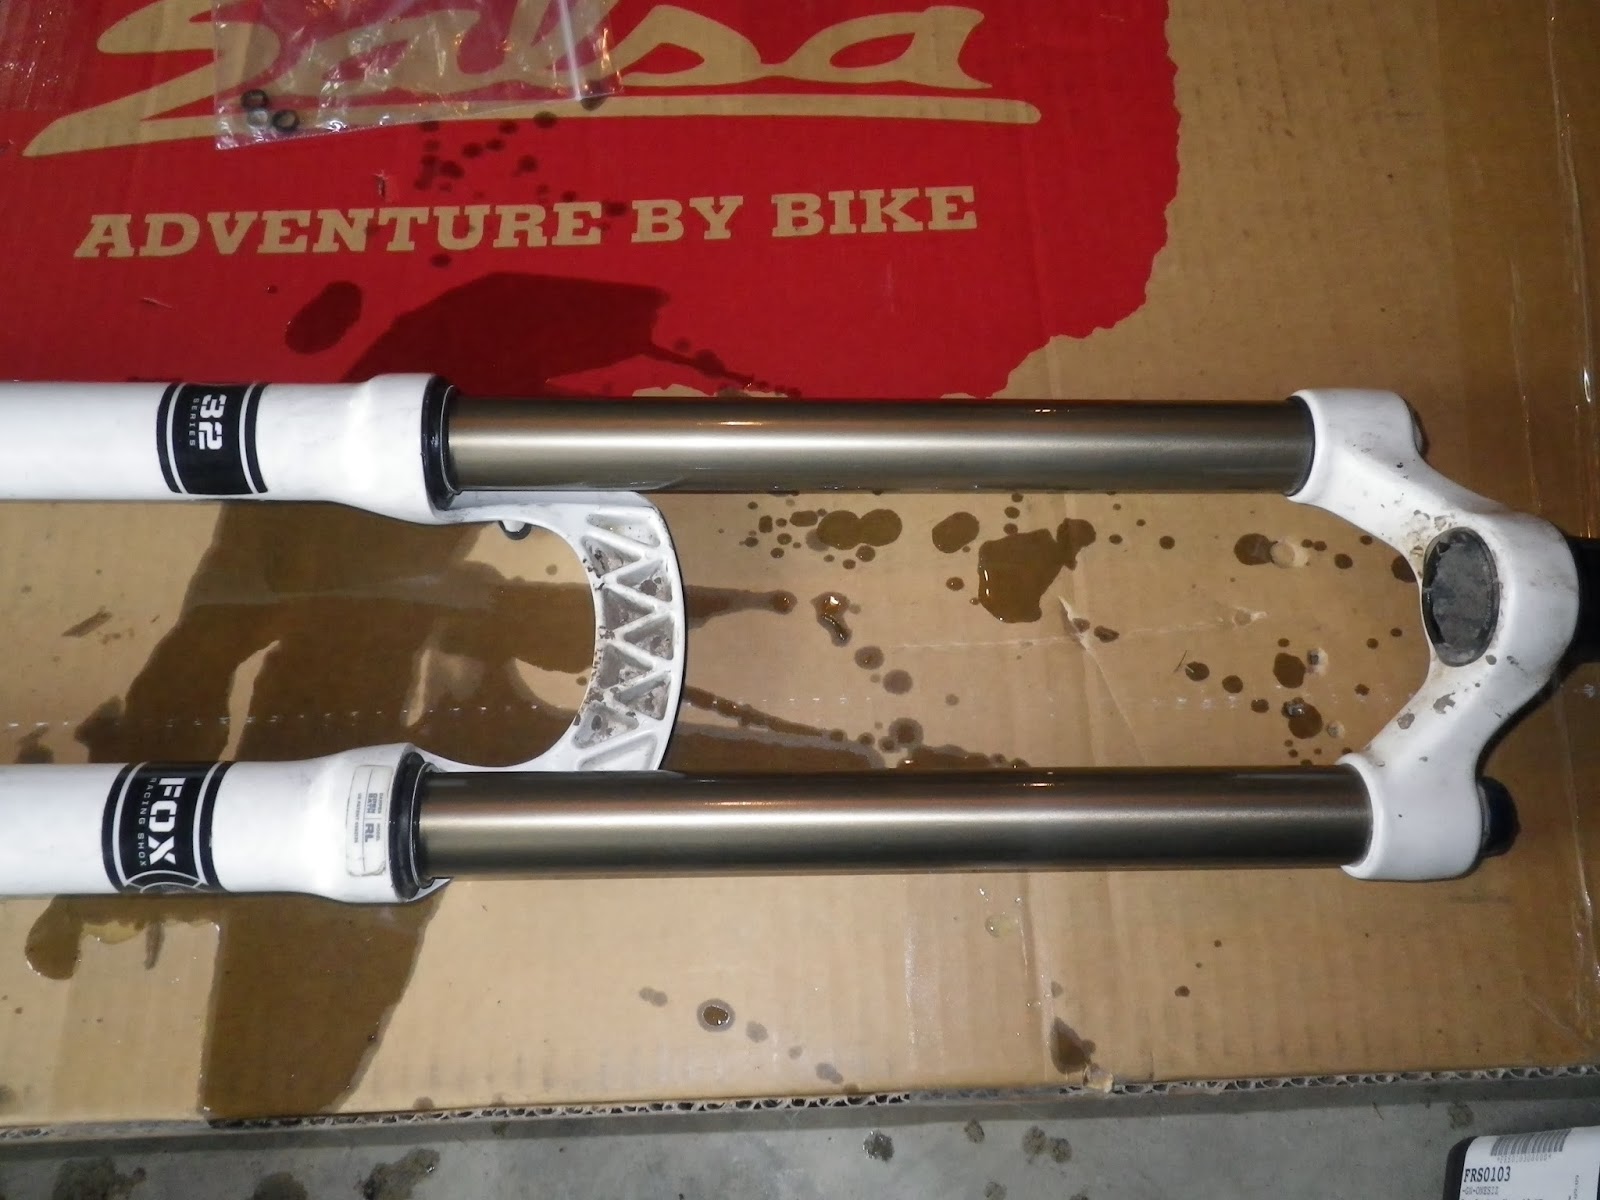
Getting ready to re-install the upper I noticed an area where the surface finish is damaged.
Here is a close up showing the damage. The surface finish is completely stripped and the piston tube is scored. The upper needs to be replaced. I gotta do some price checking, but I bet a new upper will cost close to the price of a good used complete shock. I'm thinking this might be the right time for an upgrade. I've owned two bikes with Rockshox forks before and never had one get damaged like this. It's going to be Rockshox again for me next time.
Re-install upper (might as well use it while I shop for a replacement - already paid for the seals and oil), but don't put it all the way down to the threaded studs yet. Those holes are used for oil filling.
Put 160 ml of oil in the damper side, 30mm of oil in the air spring side. A graduated cylinder makes it easy to measure the right amount.
Push the upper and lower the rest of the way together until the threaded studs appear. Install new crush washers.
Install bottom nuts. Make sure the old crush washers are removed. Mine were stuck pretty tight to the nut sealing surface.
Torque the nuts to 50 in lbs.
Nuts installed - Almost done.
Fill the shock Shrader valve air spring to the correct pressure for your body weight and/or riding style. I weigh 175 lbs, so I went to 80psi.
Re-install fork on bike frame and wonder what in the hell this extra part could be for....
Grab the last Big Bison Ale, call it a job well done, and quit worrying about that extra part.