
I continued the build today by installing the bars and shifters. I began by loosening the four hex bolts on the stem faceplate. I was able to wiggle the bar through the stem with the bolts just loosened, didn’t have to fully remove them. The bar I am using is just an old cheapie I had in the basement, taken off of Lori’s road bike when she upgraded to a wider more comfortable bar. It is a Scott 42 cm ergo bend drop bar with a 31.8mm clamp mounting diameter. My road bike has a 44cm wide bar, so this one will probably feel too narrow for me at first. I will just have to wait and see how it goes. While I was studying up on all the different bar choices I found a great guide for picking a new bar here: http://www.bikerumor.com/2010/12/28/tech-how-to-choose-the-correct-road-bike-handlebar-size-shape/

With the bar in the clamp, I used the openings in the clamp face to line up the marks on the bar. It is now centered exactly. I also rotated it to a likely position, but that will probably be adjusted after some test rides.
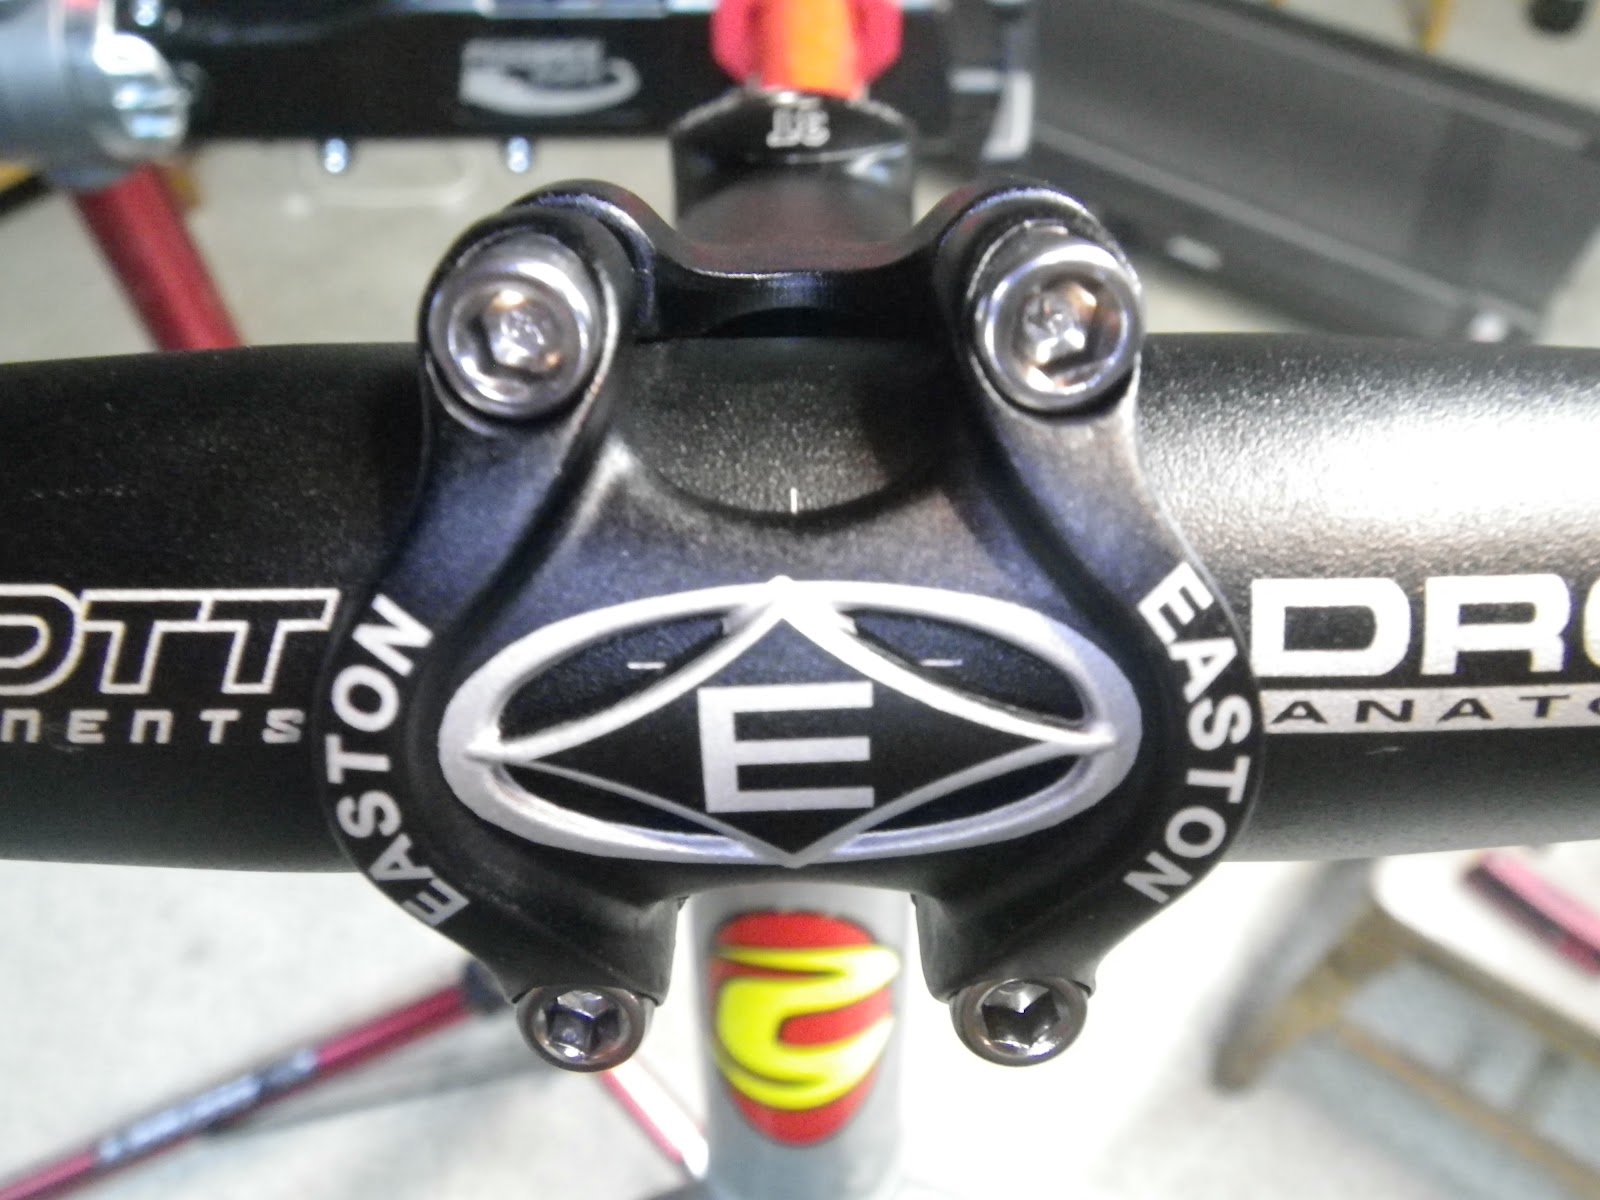
The stem faceplate hex bolts were torque to 45 inch lbs while holding the bar in position. I tried to use a rotating pattern and a couple midpoint torque values before tightening them all the way down.

I took a few measurements to make sure the bars were centered.

Slide the shifters over the ends of the handlebar until they are approximately in the position you want them. Partially peel back the boot on the shifter to reveal the 5mm clamp bolt. Use a hex key to start tightening with one hand, while holding them in position with the other hand. Once they are tight fold the boot back down. These will get moved around again later when I get brake and shifter cables. Then they get final installed when I wrap the bars with tape.

Back in part one I talked about how dependent all the part decisions were on this bike build. I had decided that I wanted a 1x10 drive train with an 11-34 rear cassette. To get a cassette that size means using a mountain bike rear derailer. I already have a crash damaged/repaired SRAM X.9 in the basement, so that will work out perfect. But SRAM derailers don’t work with Shimano shifters, they have different cable-pull ratio’s, so I had to find SRAM. I was figuring on buying some low end shifters to save money when I found an advertisement for a ‘barely used’ set of Rival shifters. I met the guy in a grocery store parking lot, and the Rival shifters were mine. Score! These things are in perfect shape, not even a scuff, like they were never used. Got the pair for less money than the best deal I could find on-line for a single shifter. I’ve never used SRAM road shifters before so their double-tap shifting will take a little getting used to.

Done - looking down

Next up is crank and chain-ring install.
Slick setup!
ReplyDeleteIf you get to thinking you might like a more Salsa Woodchipper-esque dropbar, give the WTB Dirt Drops a look. That's what I use and I really like them. Side by side, they look darn near exactly like the Woodchipper.
Thanks Bob, I'll check them out. I like the look of those flared bars.
Delete